Step-by-Step Guide to Installing Shower Enclosures
A shower enclosure is an essential component that adds to the eloquence of your washroom. Proper installation is important for maintaining its functionality.
In this blog, we will discuss a step-by-step guide to help you understand the installation process, from preparation to final adjustments.
Gather the Required Tools and Materials
Before you proceed with the installation process, make sure you have all the tools and materials handy:
Tools
- Measuring tape
- Level
- Screwdriver
- Drill and drill bits
- Adjustable wrench
- Caulking gun
- Pencil or marker
- Silicone sealant
Materials
- Shower enclosure kit (glass panels, door, and frame)
- Screws and wall plugs
- Waterproof adhesive
- Hinges and brackets
Choosing the Right Shower Enclosure
The market is flooded with multiple options for shower enclosures. These include:
Walk-in Showers
These showers symbolise modern luxury and convenience. They are spacious and ideal for large washrooms. They can be customised with various features, such as built-in seating, multiple showerheads, or rainfall showerheads.
Quadrant Showers
Quadrant showers have a curved front that fits neatly into the corner of a room. They are ideal for compact spaces and offer a sleek, contemporary look. Quadrant shower enclosures are often equipped with sliding doors to optimise space and facilitate access.
Sliding Door Enclosures
They are an excellent choice for bathrooms with limited space. The enclosure door slides up and down a track, helping to optimise the space in a small washroom. They are also relatively easier to maintain, access and install.
Pivot Door Enclosures
As the name suggests, pivot door enclosures pivot open outwards on their hinges. They balance a modern, sleek design with a traditional showering experience.
Bi-Fold Door Enclosures
Ideal for small washrooms, these have doors that swing inwards, making it easier to access the shower area. They offer functionality in a smaller space without compromising on design.
Step-by-Step Installation Instructions for Shower Enclosure
1. Measure and Mark the Installation Area
Measure the shower tray or floor area to ensure it fits into the enclosure. If the floor space is uneven, use a level to check and make necessary adjustments. Mark the drill points where you want to install the enclosure on the wall. Taking precise measurements prevents alignment issues during installation.
2. Install the Shower Tray (If Required)
This is not a compulsory step, but if you want to install a separate tray, follow the below-mentioned steps:
- Place the shower tray in position and make sure it fits properly.
- Apply waterproof adhesive to secure the tray.
- Connect the drainage pipes and check for leaks.
- Allow the tray to set before moving into the next stage.
3. Fix the Shower Enclosure Frame
Framed shower enclosures provide structural support for the glass panels and doors. Align the vertical frame pieces against the wall and attach the top and bottom horizontal pieces. Make sure that the frame components are level and properly aligned. Tighten all the screws to prevent a loose structure and damage.
Note: If you are installing a frameless shower enclosure, skip this step and proceed to glass panel installation.
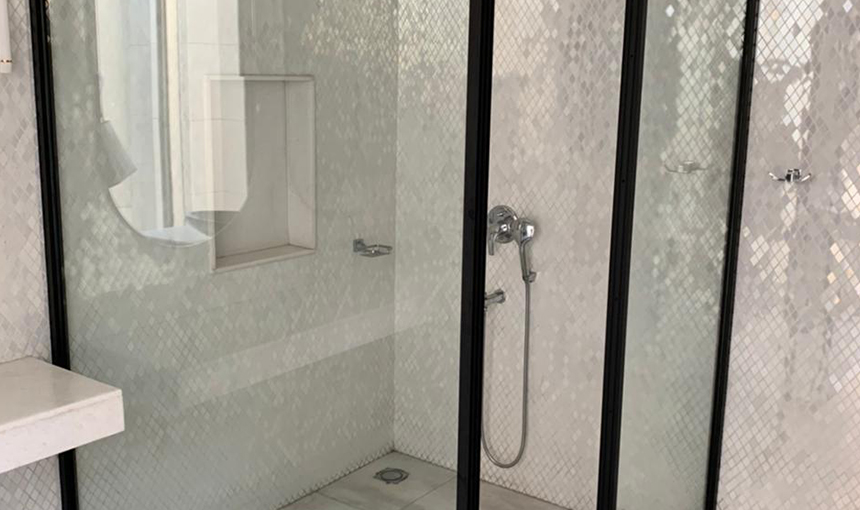
4. Install the Glass Panels
Carefully install the glass panel to prevent scratches or damage. The panels should fit seamlessly into the designated space without gaps. Proper installation of the glass panels in the shower enclosure is important for preventing leaks and ensuring a visually appealing finish.
5. Attach Door Handles and Additional Components
Install the door handles and additional components, such as towel bars and shelves. Firmly attach the handles to ensure that the components are properly aligned. Check that the doors open and close smoothly and that all the hardware functions properly to make it ready for use.
6. Apply Silicone Sealant
A waterproof silicone sealant is important to prevent water leakage. Use a caulking gun to apply thin, even beads of silicone along the joints. Smooth out the sealant with a damp finger or caulking tool, and allow it to dry for at least 24 hours before using the shower.
7. Check for Stability and Functionality
Once the entire process is complete, conduct a final check. Open and close the shower door to ensure smooth movement. Check for any loose screws or misaligned panels and test the waterproofing by running water inside the enclosure.
Conclusion
Installing a shower enclosure can transform your bathroom. At AIS Windows, you get help selecting the ideal glass for your shower enclosures to enjoy a luxurious shower at home.
-

AIS Windows (Owned by AIS Glass Solutions Ltd) 17F, New Industrial Town, Industrial Area, Rajiv Gandhi Colony, New Industrial Town, Faridabad Haryana 121001
-

-


